Enhanced Ecommerce tracking feature in Google Analytics lets you measure user interactions with products on your webstore across all the user’s shopping experience.
This is one of the best functionality that Google Analytics has to offer as it can track every minute details related to your Ecommerce site including: product impressions, product clicks, viewing product details, adding a product to a shopping cart, initiating the checkout process, transactions, refunds and much more.
With all of these capabilities of Enhanced Ecommerce tracking there is one downside of it, that it is hard to implement. But with Google Tag Manager you can make the process of implementing it a lot more easier.
Before diving into the details of setting this up through GTM, let’s first know how it is different from standard ecommerce tracking.
How Enhanced Ecommerce Tracking is different from Standard Ecommerce Tracking
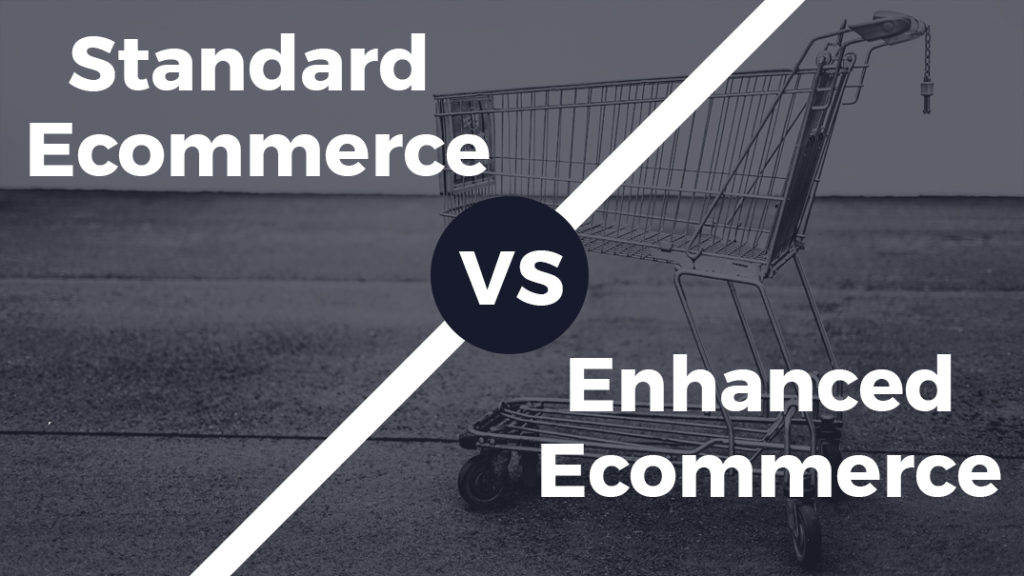
Standard Ecommerce tracking is only concerned about the done conversions. For example, your website’s goal is to sell your products. So, whenever a user will buy the product, it will be directed to an “order confirmed” or “Thank you” page.
The Standard Ecommerce tracking will keep a record of that page only. That is, it is recording the number of only those users who bought the product.
But there are several users who visit sites and turn down your product after spending a good amount of time judging it. There is no knowledge provided related to that.
Enhanced Ecommerce Tracking can get you more data about the user and/or the product. You can easily find out the impression rate and the number of clicks along with conversion rate. Because this tool keeps track of the user activities on the website, it will let you know the point from where the user dropped off.
You can put up an attractive offer at that point to lure them. There is much more to this. You can know the users who visited again and again. You will get to know about the performance of your product in a better way. Enhanced Ecommerce Tracking is a better version of and an update to Standard Ecommerce Tracking.
Now, let’s talk about setting it up through the Google Tag Manager.
Steps to implement Enhanced Ecommerce Tracking using Google Tag Manager
1. Prepare your analytics account for Ecommerce Tracking:
a) Log in to your Google Analytics account.
b) Now, go for the “Admin” section.
c) There is a “View” setting in the rightmost corner click on that and find Ecommerce settings.
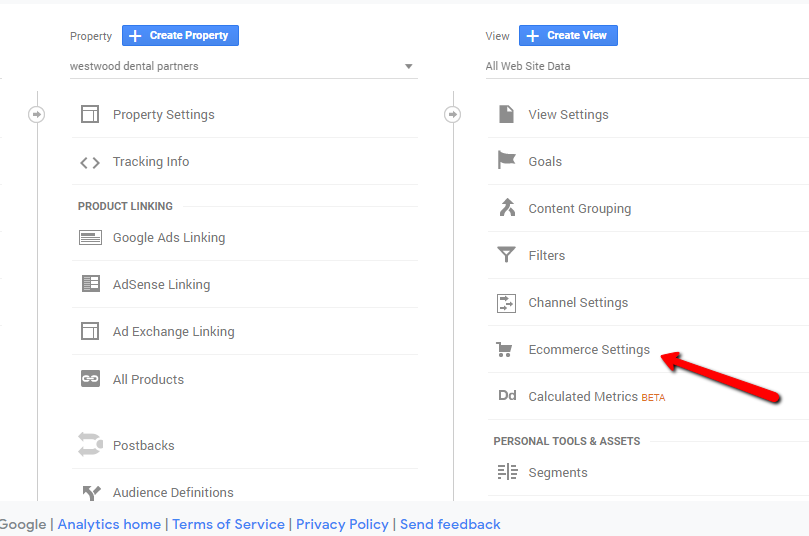
d) Click on it and then turn on “Enable Ecommerce” and Enable Enhanced Ecommerce reporting”.
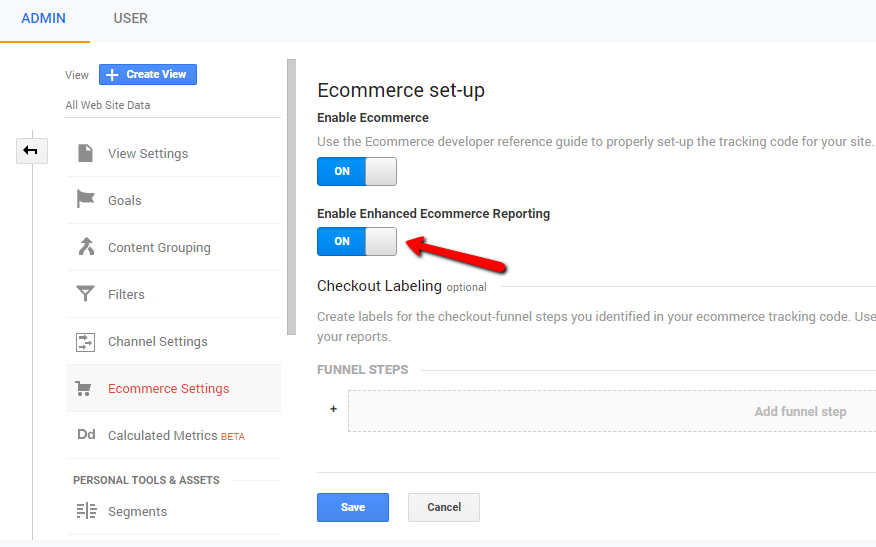
There is an optional requirement for “Checkout Labeling”. Under Checkout Labeling, add funnel steps that match your store’s checkout steps, then save your changes. The funnel steps will be according to your Ecommerce store’s checkout process. For example Customer, Payment, Billing, Return, etc.
If you do not configure checkout steps names, they will appear simply as Step 1, 2, 3, etc.
e) Save your changes.
2. Enable Enhanced Ecommerce Tracking in your shopping cart (optional)
There are many online shopping store creation platforms these days which come with built-in ecommerce tracking functionality. You just need to enable it manually and it will set up Enhanced Ecommerce tracking on your webstore.
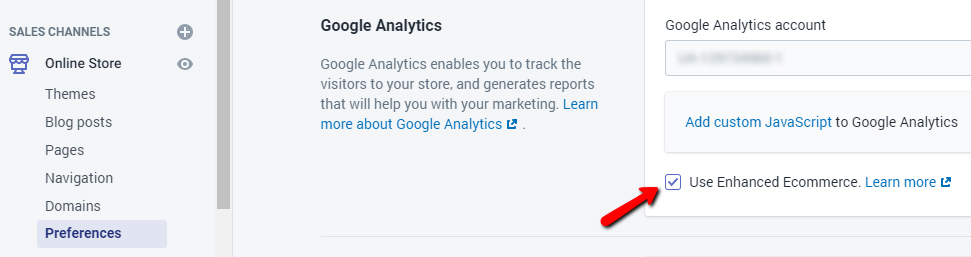
For e.g in Shopify you can go to – Online Store > Preferences and then under Google Analytics settings check the box of “Use Enhanced Ecommerce”
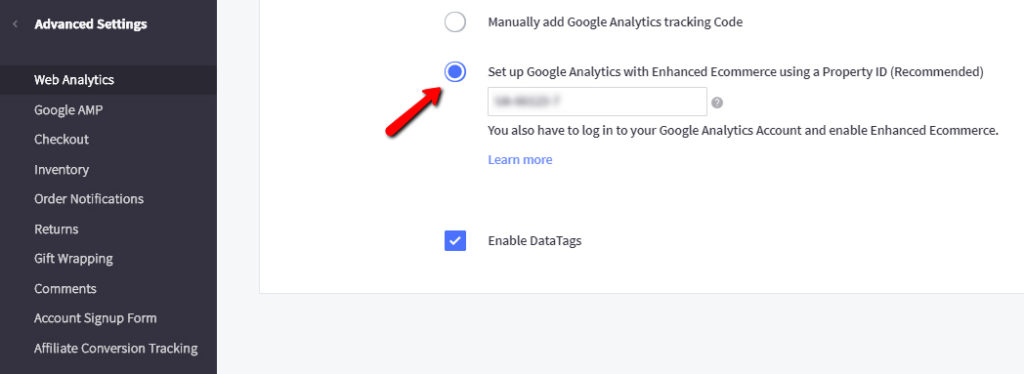
And in BigCommerce you have to go to – Advanced Settings > Web Analytics and then put your Analytics id there.
If your webstore provides option to set up enhanced ecommerce tracking, then that’s all you need.
If your webstore doesn’t provide that option, then you need to follow the next steps.
3. Prepare Data Layer for Enhanced Ecommerce Tracking
The data layer is the core of Google Tag Manager as it is responsible behind triggering and firing of tags and holding the variable values. Without this Google tag Manager is of no good use.
In order to implement enhanced ecommerce tracking, first we need to push (add) transactional data into data layer. Then we will instruct GTM to read that data from data layer and send it to Google analytics.
So basically these are the steps involved in setting up data layer for Ecommerce tracking –
a) A web developer puts data into the data layer after the transaction if completed.
b) You set GTM to recognize a successful purchase, read that data from data layer and transfer it to Google analytics.
For the sake of making this article easy for you to understand I am only including how we send Purchase information to Google Analytics. But we can send lot more than this like Checkout, Add to Cart, Remove from Cart, Refund etc.
Here is the sample code that populates data layer with minimum required Ecommerce object for Purchase:
window.dataLayer = window.dataLayer || [];
window.dataLayer.push({
  event: 'eec.purchase',
  ecommerce: {
    purchase: {
      actionField: {
        id: '1'
      },
      products: [{
        id: 'p'
      }]
    }
  }
});
In the code above, you can skip parameters that are optional but the more information you’ll pass to data layer, the more you’ll see in your reports. You can ask your web developer to refer to GTM developer guide for enhanced ecommerce to know all the available parameters.
4. Test data layer code with GTM preview and debug mode
Following steps should be followed to test the data layer:
a) Go to Google Tag Manager. Under publish section, go for preview and debug mode.
b) Open your website in another tab and make a transaction. After transaction, you’ll be directed to your “Order placed” or “thank you” page.
c) In the bottom half of your screen, the window of “preview and debug mode” is already opened. Pull it over to see the contents.
d) Go to the data layer option. You’ll see the latest object (transaction you made) pushed into the data layer. See the sample screenshot below –

You’ll see a code with values that web developer pushed into the data layer.
You have to check –
a) All the values match with your transaction data
b) All the required parameters that you suggested to web developer are included.
c) All the parameter names are exactly the same as mentioned in GTM developers guide.
If you get an answer yes to all the above points, that means you have implemented it correctly up to this point.
5. Send values from GTM to Google analytics
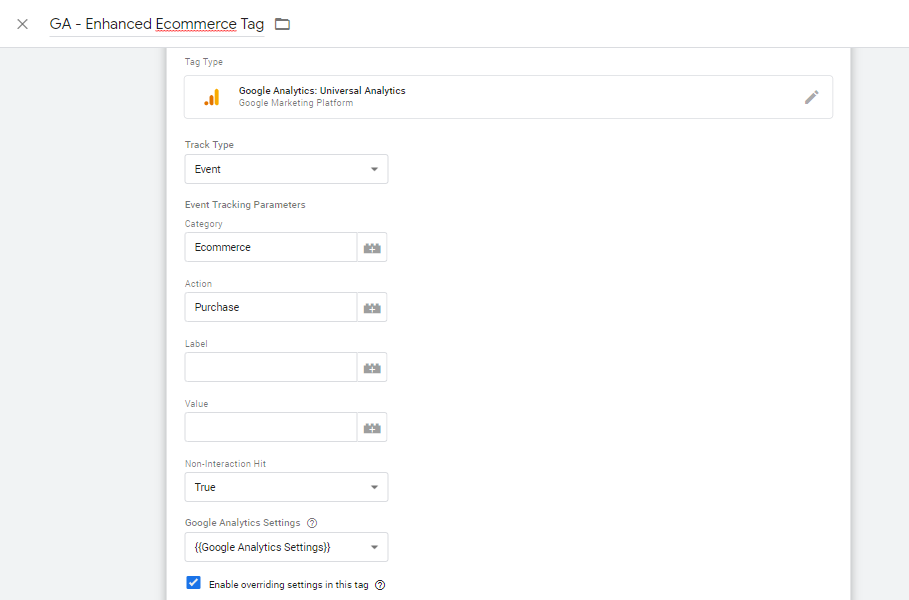
a) Go to your GTM account and create a new tag. You can name it as “ GA – Enhanced Ecommerce Tag ”.
b) Select tag type as “Universal Analytics” and set the track type as “Event”. Fill category and action fields as in the screenshot below –
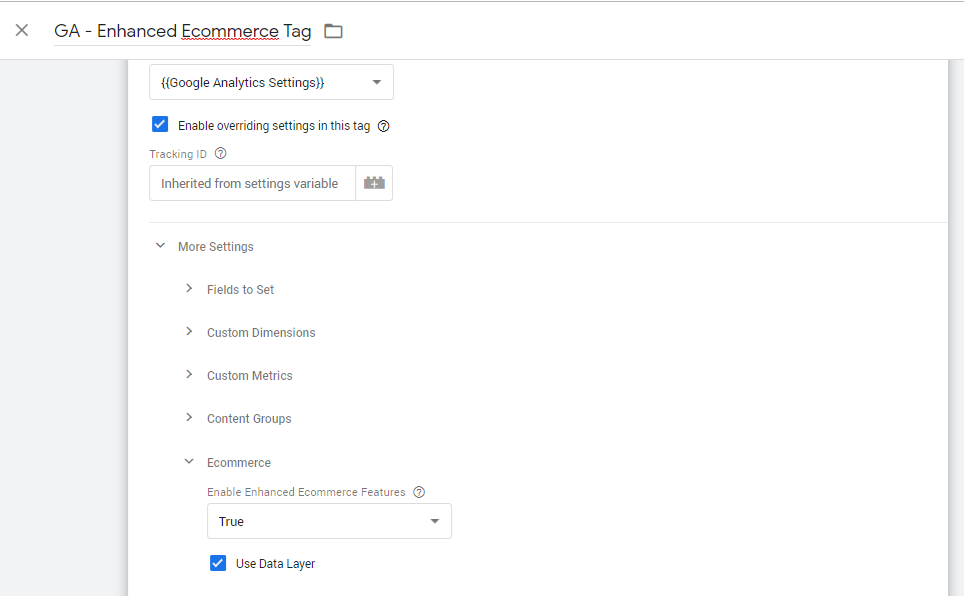
c) In the Google Analytics Settings variable, under More Settings and then Ecommerce, set Enable Enhanced Ecommerce Features to True.
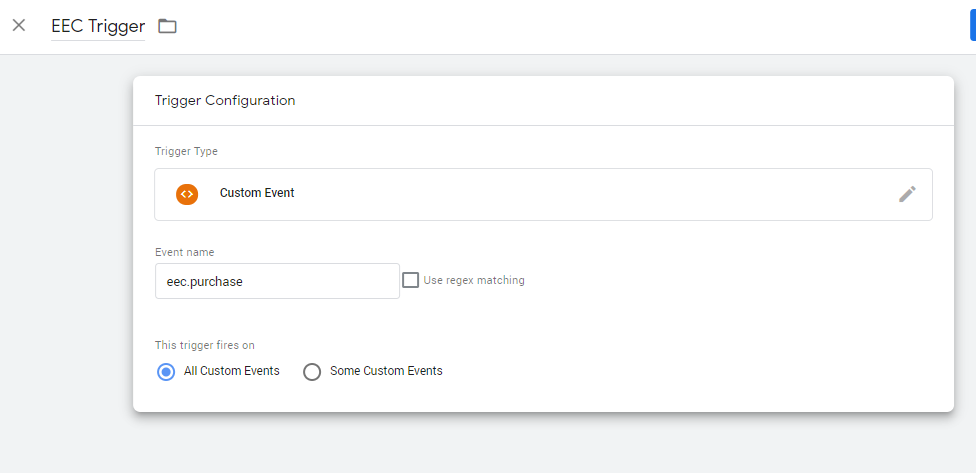
c) In the Triggering option select “custom event” as trigger type and type eec.purchase as event name.
d) Save everything and then Publish your changes in GTM. Within 24 hours you’ll be seeing data in your Google Analytics reports under Conversion > Ecommerce reports.
Conclusion: I have explained how you can implement Enhanced Ecommerce tracking on your website using Google Tag Manager and Google Analytics. It’s a bit complicated to implement but by using Google Tag Manager we can make this process lot more easier.